There’s nothing quite like the sinking feeling of realizing your laptop has been infected with malware, especially when you consider yourself a somewhat tech-savvy and cybersecurity person.
Yeah, few days ago, my Windows laptop started behaving strangely. Applications were freezing mid-task, the CPU fan was running constantly at full speed, random browser tabs kept opening on their own, and system performance had crawled to a halt. At first, I assumed it was a routine Windows issue, maybe too many startup programs or a background update hogging resources. But after spotting suspicious processes in Task Manager and experiencing repeated browser redirects to sketchy websites, I knew something more serious was going on.
This guide documents exactly how I diagnosed, cleaned, and secured my infected Windows laptop step by step. Therefore, if you’re dealing with adware, a trojan, a browser hijacker, or some other form of malicious software, this real-world malware removal walkthrough will help you get back in control.
How My Laptop Got Infected With Malware
The infection started the moment I downloaded what appeared to be a legitimate software activation tool from a random third-party website, name withheld for security purpose. Do you know that single decision was my first and biggest mistake.
The file was bundled inside a ZIP archive, and my Windows Defender didn’t initially flag it as suspicious. But after running the installer, things quickly went sideways:
- Browser popups started appearing constantly.
- Unknown browser extensions had been silently installed.
- RAM usage spiked even with no active applications.
- Boot times became painfully slow.
Within 24 hours, my laptop had become nearly unusable.
Now, I will highlight the most common ways malware spreads on Windows systems, so that you can know them:
- Pirated or cracked software downloaded from unofficial websites.
- Fake software activation tools bundled with hidden payloads.
- Malicious browser extensions that slip through during software installs.
- Email attachments or links containing trojan downloaders.
- Compromised downloads disguised as legitimate sources.
Even experienced users who understand cybersecurity can fall into this trap, especially when searching for a quick fix to a software licensing issue. So, verify everything before you act.
Early Warning Signs My Laptop Was Infected With Malware
Before I explain the cleanup process, lets discuss the exact symptoms I experienced, so that if your PC is showing similar signs, there’s a good chance you’re dealing with malware too.
1. Extreme Performance Degradation
Under normal conditions, my laptop booted in roughly 20 seconds and handled everyday tasks smoothly, but after the infection:
- Boot times stretched to nearly 2 full minutes.
- Applications froze or crashed without warning.
- Chrome became so sluggish it was essentially unusable.
2. Abnormally High CPU Usage
Even while the laptop sat completely idle, CPU usage was consistently above 70 percent. On the Task Manager, multiple unknown background processes were running and consuming significant resources. Mind you, processes I had never seen before and couldn’t identify.
3. Suspicious Browser Behavior
Random browser tabs kept opening to ad-heavy or phishing-style websites. My default search engine had been silently changed. New browser extension I never installed was active on Chrome. Notification popups were appearing from websites I had never visited and I couldn’t open any Antivirus related website.
4. Unusual Network Activity
Even when no applications were visibly running, my network activity indicator was constantly blinking, a sign that something in the background was communicating with external servers.
The Clean-Up Processes I Used (Step-by-step) To Remove The Malware
If you are emperiencing aforementioned signs in your laptop or system, follow below step-by-step guide to have it fixed.
Step 1: Disconnect from the Internet Immediately
The first thing I did before running any scans or taking any other action was disconnect the laptop from Wi-Fi.
This is a critically important first step because some types of malware having access to internet:
- Actively communicate with remote command-and-control servers.
- Download additional malicious payloads in the background.
- Exfiltrate sensitive data like saved passwords or financial information.
- Spread laterally to other devices on the same network.
Therefore, cutting off internet access limits the malware’s reach and prevents further damage while you begin the cleanup process.
Step 2: Boot Into Safe Mode
With the internet disconnected, I rebooted Windows into Safe Mode. This is because Safe Mode loads only the essential drivers and Windows services needed to run the operating system. This action prevents many malicious programs from launching automatically at startup, hence, makes them much easier to detect and remove.
How to enter Safe Mode on Windows 10/11:
- Open Settings → System → Recovery
- Under Advanced startup, click Restart Now.
- After the system restarts, select Troubleshoot → Advanced Options → Startup Settings.
- Press F4 to boot into Safe Mode.
- Or Hold down Left Shift Key and click Restart, then follow Troubleshoot → Advanced Options → Startup Settings.
Once inside Safe Mode, my system immediately felt more responsive, which further confirmed that something was running in the background during normal operation.
Step 3: Run a Windows Defender Offline Scan
Before installing any third-party tools, I used the built-in Microsoft Defender Offline Scan – a powerful but often overlooked feature that most Windows users never use.
Unlike a standard Defender scan, the offline scan runs before Windows fully loads, which means it can detect and remove deeply embedded threats that might normally be protected by active malware processes.
How to run Microsoft Defender Offline Scan:
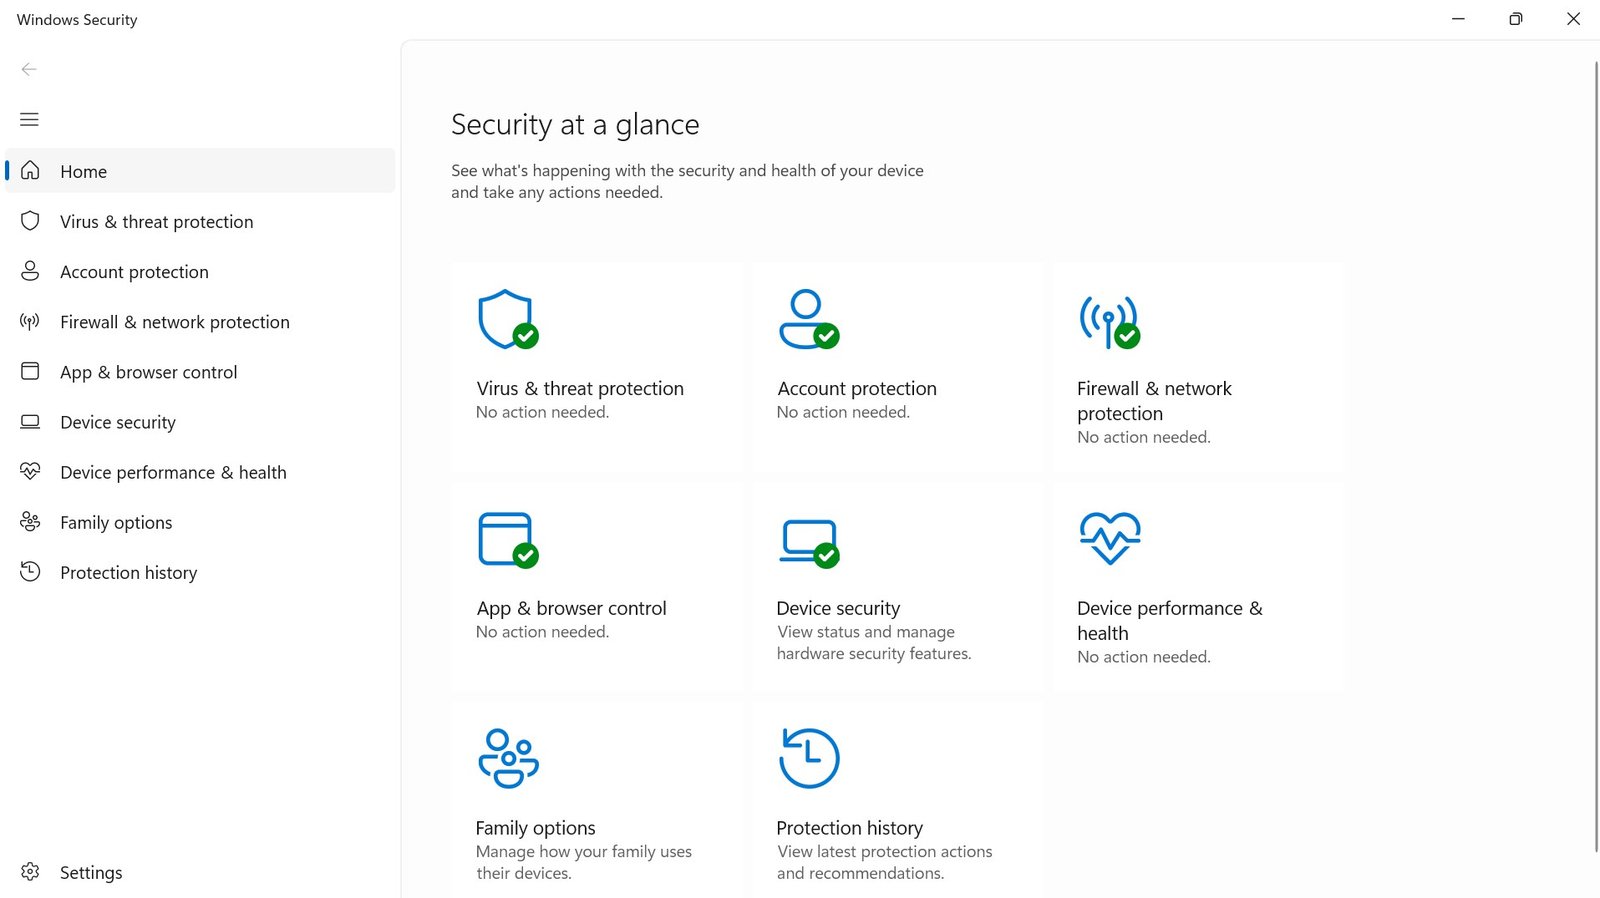
- Open Windows Security.
- Navigate to Virus & Threat Protection.
- Scroll to Scan Options.
- Select Microsoft Defender Offline Scan.
- Click Scan Now and the system will restart and scan automatically.
What Defender detected:
- A trojan downloader, which is the initial payload responsible for pulling in additional malware.
- A Potentially Unwanted Program (PUP), bundled adware software.
- Suspicious registry modifications, which were entries used to maintain persistence.
At this point, I genuinely thought the problem was solved. I was wrong.
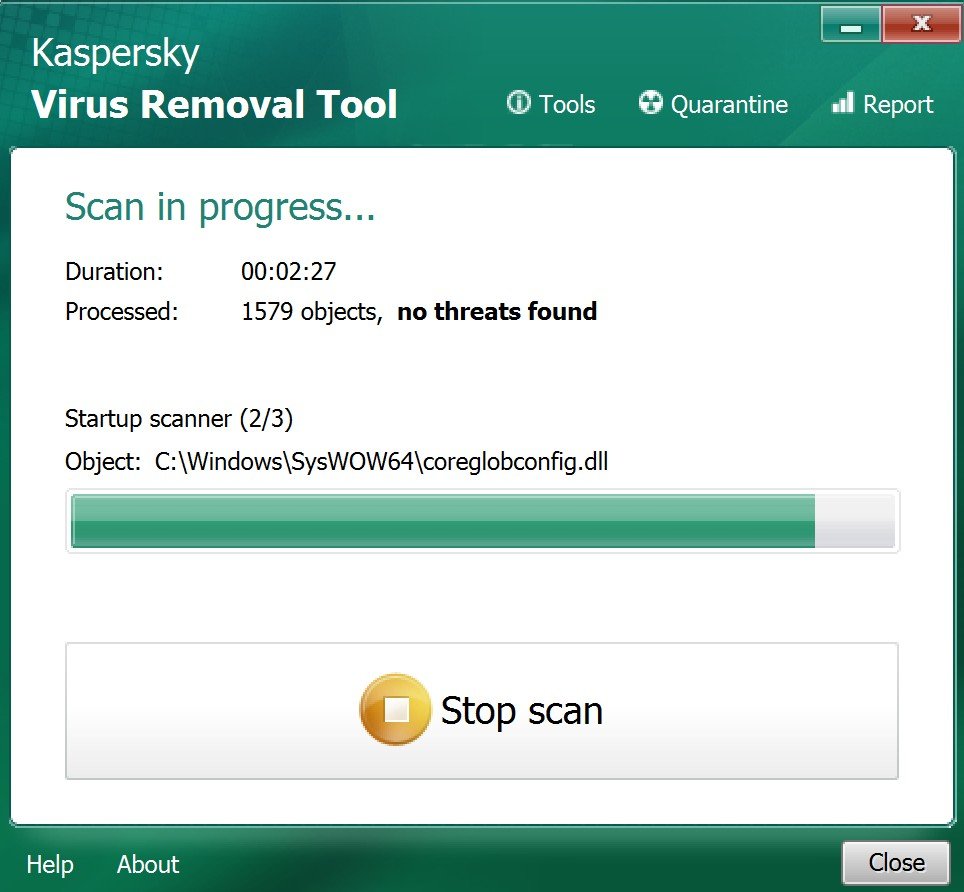
Step 4: Install and Run Malwarebytes/Kaspersky VRT
My next step was downloading Malwarebytes and Kaspersky Virus Removal Tool, two of the most effective tools available for detecting what Windows Defender sometimes misses, particularly adware, browser hijackers, spyware, and potentially unwanted programs (PUPs).
Running the Malwarebytes and Kaspersky VRT scan:
- Download Malwarebytes Offline version from the official site (malwarebytes.com).
- Download Kaspersky VRT from the official site (www.kaspersky.com).
- Install and immediately update the malware database.
- Enable rootkit scanning in the settings of Malwarebytes.
- Run a Full System Scan on both tools – this took approximately 45 minutes on my system.
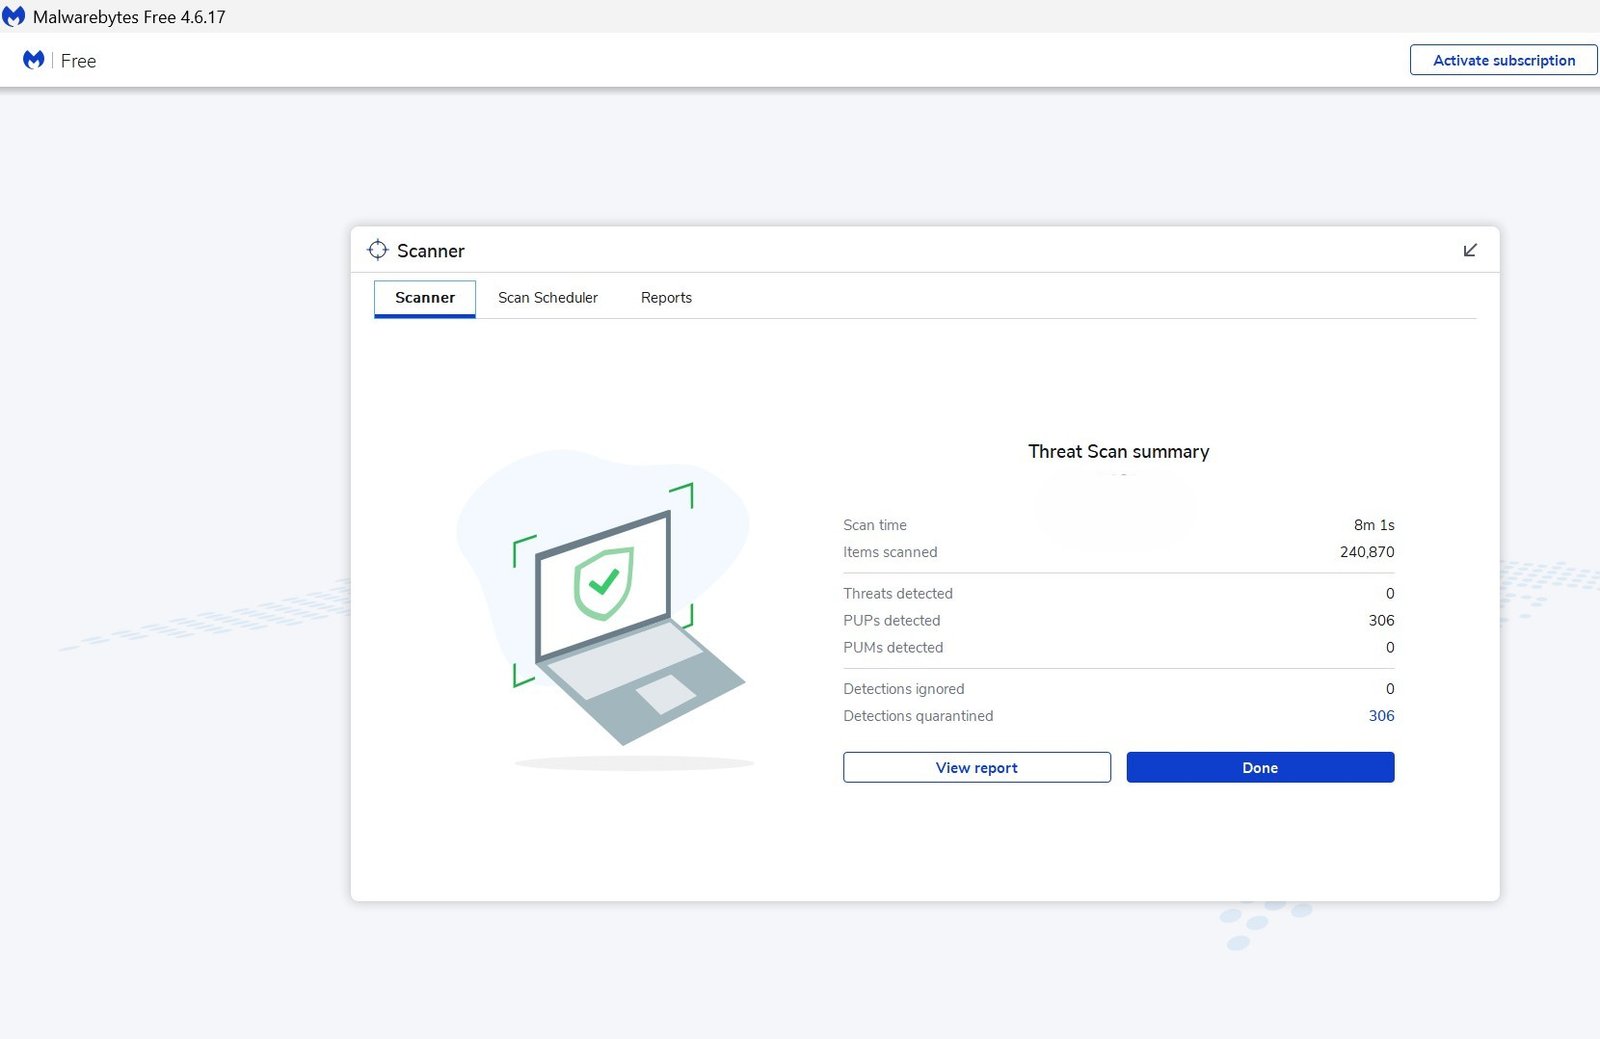
What Malwarebytes and Kaspersky VRT detected:
- 17 total threats across multiple categories.
- 306 potentially unwanted programs (PUPs).
- Multiple registry modifications designed to ensure persistence.
- Several browser hijacker components which caused the redirects.
- Suspicious startup entries loading hidden processes.
- Residual adware components affecting browser behavior.
All the threats were quarantined and removed. The sheer number of detections made it clear why Defender alone hadn’t been enough, hence, these two tools complement each other with the Defender rather than compete.
Step 5: Remove Suspicious Browser Extensions
One of the trickiest parts of this cleanup was dealing with the browser. The malware had installed malicious extensions across Chrome and Firefox, and those extensions were reinstalling certain behaviors even after the system scans.
Signs of a malicious browser extension:
- Extensions you never installed appearing in your browser.
- Random or generic names that don’t correspond to known software.
- Permissions requesting access to all website data, browsing history, or clipboard.
- Search engine being changed without your consent.
- Constant redirects to unfamiliar websites.
What I did to clean each browser:
- Manually removed all unknown extensions.
- Reset browser settings to default and this removes modified search engines and homepage changes.
- Cleared all browsing data including cookies, cache, and saved site permissions.
- Disabled notification permissions from any unrecognized website sources.
After completing this step, the browser popups and redirects stopped entirely.
Step 6: Audit Your Startup Programs
Malware commonly embeds itself in Windows startup entries, ensuring it launches automatically every time you log in, even after being removed by a scanner.
How to check and clean startup programs:
- Open Task Manager (Ctrl + Shift + Esc).
- Click the Startup Apps tab.
- Look for entries with no publisher information, unusual executable names, or high startup impact that you don’t recognize.
I found several suspicious entries during this check and disabled them immediately. If you’re unsure about a specific entry, search its exact filename online before disabling it because some legitimate system processes have generic-sounding names.
Step 7: Use Command Prompt to Investigate Network Activity
Even after running scans and cleaning startup programs, I wanted to verify that no malicious processes were still communicating externally. This is where Command Prompt became useful.
Check active network connections:
netstat -anoThis command lists all active and listening network connections along with the Process ID (PID) responsible for each one. Look for repeated outbound connections to unfamiliar IP addresses.
Identify suspicious processes:
tasklistMatch the PID from the netstat output to the corresponding process name. If you find executables in unusual locations (like Temp folders or AppData directories) making repeated outbound connections, that’s a red flag worth investigating further.
Step 8: Repair Windows System Files
Malware sometimes damages or replaces legitimate Windows system files to avoid detection or disrupt removal attempts. To check for and repair any corrupted files, I ran the System File Checker:
sfc /scannowRun this in an elevated Command Prompt (right-click → Run as Administrator). The scan checks all protected system files and automatically repairs any that have been altered or corrupted. On my system, it detected and repaired several damaged components.
Step 9: Run DISM to Restore the Windows Image
After running SFC, I also used the Deployment Image Servicing and Management (DISM) tool to repair the underlying Windows image, something SFC alone can’t always fix.
DISM /Online /Cleanup-Image /RestoreHealthThis command connects to Windows Update to download and restore any corrupted image components. The process took several minutes to complete but successfully repaired additional corruption left behind by the malware.
Step 10: Delete Temporary Files and Clean the System
Malware frequently stores scripts, cached payloads, and residual components inside Windows Temp folders and browser cache directories. Cleaning these out removed the last traces of the infection.
Areas I cleaned:
- Windows Temp directories (
%temp%andC:\Windows\Temp). - Browser download folders and cached data.
- Leftover installer files in the Downloads folder.
- Junk files using Windows built-in Disk Cleanup tool.
It is important to note that beyond removing malware remnants, this step also measurably improved system performance.
Step 11: Install All Pending Windows Updates
Here’s a mistake I made long before the infection ever happened: I had been delaying Windows updates for sometime because they interrupted my workflow.
That was a serious security lapse on my side because Outdated Windows systems are significantly more vulnerable to:
- Known exploits that Microsoft has already patched.
- Privilege escalation attacks used by malware to gain deeper system access.
- Browser-based attacks targeting unpatched rendering engines.
After completing the cleanup, I immediately installed all pending updates; cumulative security patches, Defender definition updates, and driver patches. Then, rebooted the system and it felt noticeably more stable.
However, you can change any existing Passwords in the infected system and also Enable Two-Factor Authentication (2FA) on All Accounts.
Mistakes I Made which You should Avoid When Removing Malware
Here are two avoidable mistakes I made which matters when removing or dealing with malware infected system.
Mistake #1: Assuming One Scan Is Enough
After the Defender scan removed those threats and I rebooted, performance improved temporarily, but within a few hours:
- Browser redirects came back.
- CPU spikes returned.
- Startup lag persisted.
This is one of the most common mistakes people make during malware cleanup: assuming a single antivirus scan completely solves the problem.
Modern malware is designed with persistence in mind, as it often:
- Reinstalls itself from a secondary payload left behind after the first scan.
- Hides inside browser extensions that security tools don’t always scan deeply.
- Creates scheduled tasks in Windows that re-trigger after every reboot.
- Modifies startup registry entries to restore itself automatically.
This is why layered and multi-tool cleanup is essential for total malware removal.
Mistake #2: Poor Browser Security Habits
Looking back, my browser habits before the infection were careless:
- I had installed too many browser extensions without vetting them.
- I downloaded software from the first result in Google without verifying the source.
- I visited unofficial download mirrors for tools I didn’t want to pay for.
Browser hygiene matters enormously for overall system security because most infections today start in the browser, not through sophisticated exploits, but through user behavior.
How I Prevented Reinfection of Malware
Cleaning malware is only half the job, the other half is making sure it doesn’t happen again. So, here’s exactly what I changed.
Enable All Windows Defender Protections
Inside Windows Security, I verified that the following were all turned on:
- Real-time protection.
- Cloud-delivered protection.
- Automatic sample submission.
- Tamper protection.
Add Browser Security Extensions
I installed Malwarebytes Browser Guard on all browsers, you can explore other options like uBlock Origin which blocks malicious ads, trackers, and redirect scripts that are common vectors for drive-by malware downloads. I also enabled the browser’s built-in phishing and malware protection settings.
Stop Downloading From Unofficial Sources
This was the most important behavioral change. I now:
- Only download software from official developer websites or verified app stores.
- Avoid cracked software and fake activation tools entirely.
- Verify file hashes when provided before running any installer.
Enable Automatic Updates
I turned on automatic updates for Windows, all installed browsers, and Malwarebytes. Staying current on security patches is one of the simplest and most effective things you can do for system security.
Create Regular System Restore Points
I now create a restore point before installing any new software, making significant system changes, or testing unfamiliar applications. If something goes wrong, recovery becomes much faster and less stressful.
Back Up Important Files
I started using both an external drive and cloud backup for critical files. This is especially important as a defense against ransomware – a type of malware that encrypts your files and demands payment. Without a backup, ransomware victims often face the choice of paying attackers or losing their data permanently.
Should You Do a Full Windows Reinstall?
In some cases, yes. A clean Windows reinstall is the safest option if:
- Malware keeps returning after repeated cleanup attempts.
- Your system was infected with ransomware.
- You have reason to believe sensitive personal or financial data was stolen.
- Core system functionality remains broken after running SFC and DISM.
Fortunately, the tools and steps in this guide were enough to fully clean my system without needing a reinstall. But if you’re dealing with a severe or persistent infection, don’t hesitate, because a clean install is better than an insecure system.
Best Free Malware Removal Tools for Windows
| Tool | Best For |
|---|---|
| Windows Defender Offline Scan | Deep pre-boot scanning for persistent threats |
| Malwarebytes (Free) & Kaspersky VRT | Adware, browser hijackers, PUPs, spyware |
| SFC (System File Checker) | Repairing corrupted Windows system files |
| DISM | Restoring the underlying Windows image |
| Autoruns (Sysinternals) | Advanced startup and scheduled task auditing |
| Process Explorer (Sysinternals) | Identifying suspicious background processes |
Frequently Asked Questions
Can Windows Defender remove malware by itself? Sometimes, especially for well-known threats. But advanced adware, browser hijackers, and PUPs often require a second tool like Malwarebytes or Kaspersky Virus Removal Tool to fully clean.
Is Malwarebytes safe to use? Yes. Malwarebytes is a widely trusted security tool used by both consumers and IT professionals. The free version is sufficient for manual on-demand scanning.
Does booting into Safe Mode help with malware removal? Absolutely. Safe Mode prevents most malicious processes from loading, which makes them easier to detect and remove. Always perform your initial scans in Safe Mode when possible.
Can malware survive a reboot? Yes. Many types of malware create scheduled tasks, registry startup entries, or browser extensions specifically designed to survive reboots. This is why checking startup programs and scheduled tasks is part of a thorough cleanup.
What’s the single most effective thing I can do to avoid malware? Stop downloading software from unofficial websites. The overwhelming majority of Windows malware infections trace back to pirated software, cracked tools, or unofficial download mirrors.
You can also read: 7 Signs Your Computer Has Malware And How to Remove It Fast
Final Thoughts on Malware Infection Removal
This malware infection was an expensive lesson, but it fundamentally improved how I think and practice personal cybersecurity. And it is an eye-opener that even people who understand cybersecurity can become victims when complacency creeps in, like one careless download, one skipped Windows update, one unverified browser extension, that’s often all it takes.
The good thing is that Windows security tools have improved substantially. So, by combining Windows Defender, Malware Removal tools, Safe Mode scanning, command-line diagnostics, and manual cleanup, I was able to fully restore my system without a complete reinstall.
More importantly, I changed the habits and assumptions that caused the infection in the first place, which explains that tools matter, but habits matter more.
If your Windows PC is behaving suspiciously, running slow without explanation, or showing signs of unusual activity, don’t wait. Start investigating immediately because malware infections never resolve on their own, and the longer you wait, the more damage they can cause.
Have you dealt with a malware infection on your Windows PC? Share your experience in the comments below and if this guide helped you clean up your system, consider sharing it with someone who might need it.
CyberPrivacyLab Team is a cybersecurity-focused platform dedicated to helping individuals and businesses stay safe online.
Our expertise includes cybersecurity, ethical hacking, network defense, and privacy protection. We provide practical, research-backed insights designed to help users understand threats, secure their systems, and protect their digital identity.
Our content is informed by hands-on experience with industry-standard tools such as Kali Linux, Wireshark, Nmap, Security Onion and others, ensuring that our guides are both practical and relevant.
We are committed to delivering clear, accurate, and actionable cybersecurity knowledge to support safer digital experiences.